Visibility is Safety: Why a Class B AIS Transponder is Non-Negotiable
There are few things more unsettling at sea than limited visibility. Whether it’s the dead of night, a rolling fog bank, or torrential rain, the moment your world shrinks to just a few boat lengths is the moment you truly appreciate modern electronics. For years, radar was the gold standard, and it’s still a fantastic tool. But the game changed with the widespread adoption of the Automatic Identification System (AIS). While a simple AIS receiver is good, a Class B transponder is a revolutionary leap in situational awareness and safety for recreational vessels. It doesn’t just let you see others; it lets everyone see you.
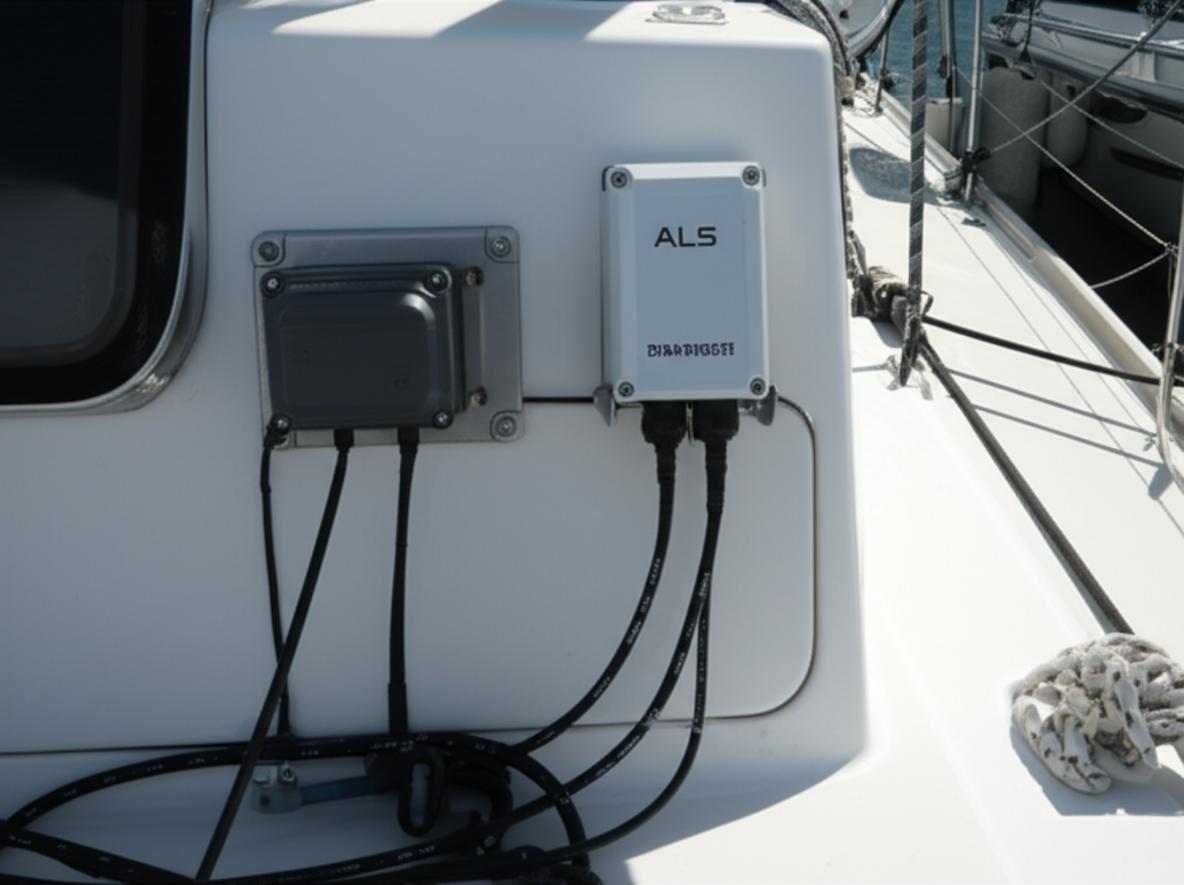
Installing an AIS transponder isn’t black magic, but it demands more care than wiring a new cabin light. A sloppy installation can lead to poor performance or, worse, a false sense of security. Having fitted dozens of these units on everything from weekend cruisers to blue-water voyagers, I’ve seen the common pitfalls and the best practices. This guide is your roadmap to a professional-grade installation, ensuring your AIS works flawlessly when you need it most.
Before You Unbox: The Pre-Installation Checklist
Excitement to get new gear installed is understandable, but a little prep work saves major headaches down the line. Before you drill a single hole, let’s get our ducks in a row.
1. Obtain Your MMSI Number
This is non-negotiable. An AIS transponder is useless without a Maritime Mobile Service Identity (MMSI) number. This unique nine-digit code is your vessel’s digital fingerprint. It’s programmed into your AIS and your DSC-equipped VHF radio. When you transmit, this number identifies you to other vessels and shore stations. In the US, you can get an MMSI from the FCC (required for international voyages) or from organizations like BoatUS for domestic use. Whatever your method, have this number in hand before you start. Crucial tip: Most AIS units only allow you to program the MMSI once. A mistake could mean sending the unit back to the manufacturer. Double, then triple-check the number before entering it.
2. Choose Your Transponder: CSTDMA vs. SOTDMA
Not all Class B transponders are created equal. The newer standard is Class B SOTDMA (Self-Organizing Time Division Multiple Access). These units use the same technology as Class A transponders found on commercial ships, offering a higher transmission power (5 watts vs. 2 watts) and a more frequent, intelligent reporting rate. While the older CSTDMA (Carrier-Sense Time Division Multiple Access) units are still effective and often cheaper, if you’re buying new, I strongly recommend a SOTDMA model. The performance boost, especially in high-traffic areas, is significant.
3. Plan Your Component Layout
Walk around your boat and physically identify where each component will live. You’ll have:
- The AIS Transponder Unit: Needs a dry, well-ventilated location, reasonably close to your helm or nav station for data connections and not too far from a power source. Keep it away from sources of major interference like engine alternators or radar magnetrons.
- VHF/AIS Antenna: The higher the better. We’ll dive deep into this next.
- GPS Antenna: Most modern AIS transponders come with their own dedicated GPS antenna. This needs a clear view of the sky, away from radar arches or booms that could block its signal.
- Power and Data Wires: Trace the path these will take. Avoid running them parallel to high-current cables to prevent interference.
The Antenna System: The Most Critical Component
Your AIS is a radio. Its performance is directly tied to its antenna. A top-of-the-line transponder with a poor antenna setup is a waste of money. You have two primary options here, each with its own merits.
Option 1: The Dedicated VHF/AIS Antenna (The Gold Standard)
This is, without a doubt, the best method. Installing a separate VHF antenna just for your AIS provides the cleanest signal and maximum range for both transmitting and receiving.
- Placement is Key: Mount this antenna as high as possible, typically on a spreader, radar arch, or its own pole at the stern. The goal is line-of-sight communication.
- Separation Matters: To avoid interference, ensure at least 3-4 feet of separation between your AIS antenna and your primary VHF radio antenna. Don’t mount them side-by-side on the same masthead bracket.
- Cable Quality: Don’t skimp on the coaxial cable. For runs over 20 feet, use high-quality, low-loss RG-213 or LMR-400 cable, not the thinner RG-58 often bundled with antennas. Every decibel of signal loss in the cable reduces your effective range.
Option 2: The VHF Antenna Splitter (The Practical Compromise)
For many sailors, especially those with single-masted vessels, adding another antenna at the masthead is impractical. This is where an AIS-rated VHF antenna splitter comes in. This device allows your AIS and your VHF radio to share a single antenna. However, be aware of the trade-offs:
- Zero-Loss vs. Passive: Only use a high-quality, “zero-loss” or “amplified” splitter. These devices electronically manage the signal traffic and amplify it slightly to overcome any inherent loss. Cheap, passive splitters will degrade the performance of both your AIS and VHF radio.
- Priority to VHF: All good splitters give priority to your VHF radio. If you transmit on the radio, the AIS is momentarily disconnected. This is a crucial safety feature for voice communications.
- Single Point of Failure: The downside is that if your single antenna or its cable fails, you lose both your VHF and your AIS. A dedicated system offers redundancy.
Connecting the Dots: Power and Data Integration
Powering Your Unit
Your AIS is a critical piece of safety equipment; give it a clean, reliable power source. Connect it to a dedicated circuit breaker on your DC panel. Use properly sized marine-grade wire to minimize voltage drop, and ensure the connection is protected with the inline fuse supplied by the manufacturer. A stable power supply is essential for consistent transmission.
Integrating with Your Chartplotter (NMEA 2000 vs. NMEA 0183)
Seeing AIS targets overlaid on your electronic charts is where the magic happens. How you connect your AIS to your Multi-Function Display (MFD) or chartplotter depends on your boat’s existing network.
- NMEA 2000 (N2K): This is the modern, plug-and-play standard. If you have an N2K backbone, installation is as simple as connecting the AIS to the network with a T-connector. The AIS will draw power from the network (check power budget) and share data with all other compatible devices.
- NMEA 0183: This is the older, serial-based protocol. It involves wiring specific “talker” and “listener” wires. Your AIS will have NMEA 0183 output wires (e.g., TX+, TX-) that need to be connected to the NMEA 0183 input port on your chartplotter (e.g., RX+, RX-). Pay close attention to the wiring diagrams for both devices, as it’s easy to mix them up. The AIS also needs to receive GPS data, so you’ll also connect the chartplotter’s NMEA 0183 output to the AIS’s input. Ensure the baud rate is set correctly (typically 38,400 for AIS).
The Final Steps: Programming and Testing
With everything physically installed, it’s time to bring your system to life. You’ll need to connect your transponder to a computer via USB or WiFi (depending on the model) to run the manufacturer’s configuration software. This is where you’ll enter that all-important MMSI number, your vessel’s name, call sign, length, beam, and vessel type. Be meticulous here; this is the information other ships will see.
Once programmed, it’s time to test. Power everything up. The AIS unit will have status indicator lights that should confirm it has a GPS lock and is transmitting correctly. On your chartplotter, you should start seeing AIS targets pop up. To confirm you are being seen, you can use a website like MarineTraffic or VesselFinder. Search for your boat’s name or MMSI. Be patient—it can take anywhere from a few minutes to an hour for your signal to be picked up by a shore station and appear online. The ultimate test? Call a buddy on a nearby boat and ask if they see you on their screen.
Conclusion: A Worthwhile Investment in Peace of Mind
Installing a Class B AIS transponder is one of the most significant safety upgrades you can make to your vessel. It turns your boat from a passive blip on a radar screen into an active, identified participant in the maritime environment. By taking the time to plan the installation, paying special attention to the antenna system, and ensuring clean power and data connections, you’re not just adding another gadget—you’re investing in peace of mind. Out on the water, especially when conditions turn sour, that’s a currency beyond compare.