Category: Engines

Marine Air Conditioner Installation

Beat the Heat: A Comprehensive Guide to Installing Marine Air Conditioning

There are few things less enjoyable than being trapped in a sweltering, humid cabin after a perfect day on the water. The air gets thick, cushions feel damp, and sleeping becomes a sticky, restless affair. This is where a marine air conditioning system transforms from a luxury into a near necessity. It’s not just about comfort; it’s about protecting your boat’s interior from mildew and making your time aboard truly relaxing. But installing one isn’t as simple as plugging in a window unit from a hardware store. Marine AC installation is a serious project that demands careful planning and a deep respect for the unique challenges of the marine environment.

As a marine professional who has seen countless installations—both good and bad—I’ve created this guide to walk you through the entire process. We’ll cover everything from choosing the right system to the critical details that separate a reliable, efficient installation from a future headache.

Why You Can’t Just Use a Household AC Unit

Before we dive in, let’s clear up a common question: “Can I just install a cheap portable or window AC unit on my boat?” The answer is an emphatic no. A boat is a harsh environment, and marine-grade equipment is built to survive it. Here’s why a standard unit will fail:

  • Corrosion: The salty, humid air will rapidly corrode the coils and electronics of a residential unit. Marine systems use specialized materials like cupronickel for condenser coils and stainless steel components to resist saltwater corrosion.
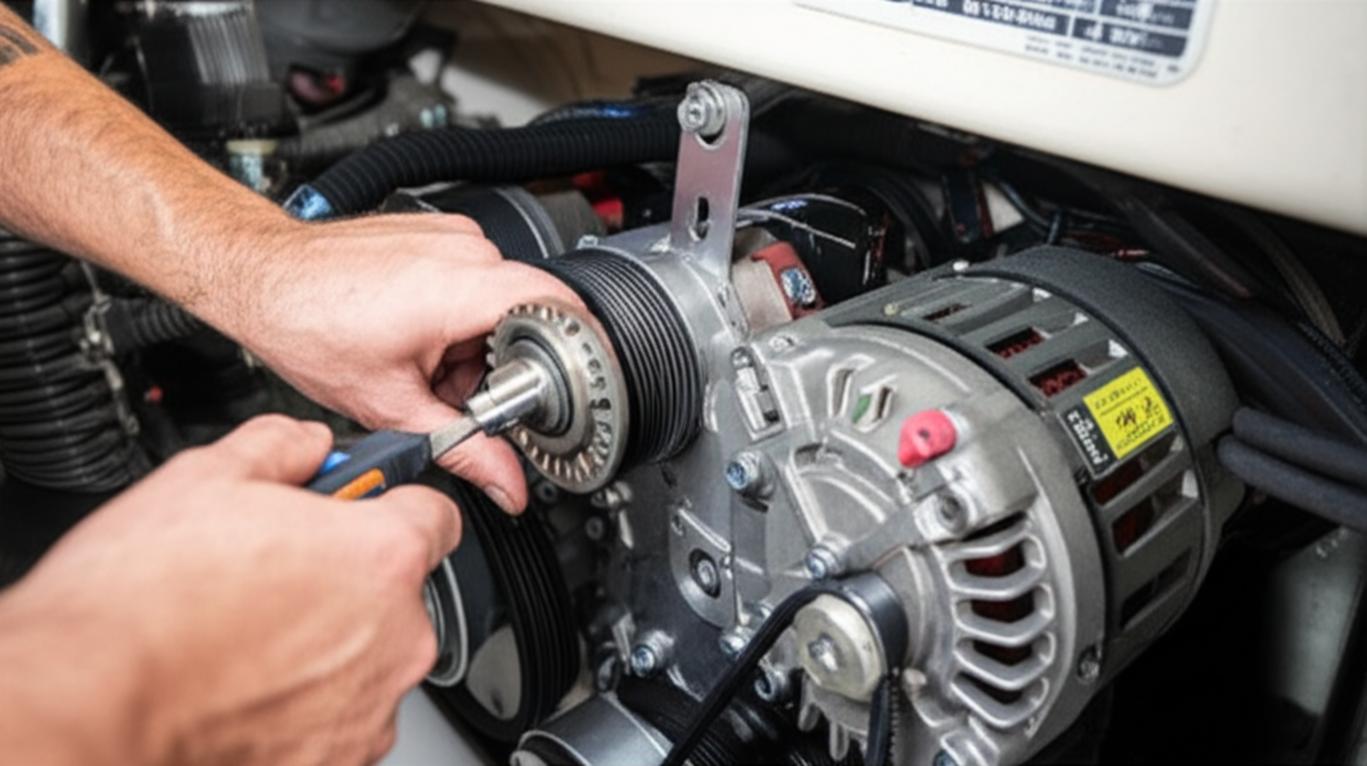
  • Cooling Method: Marine ACs don’t use a fan to cool the condenser like a home unit. They use a continuous flow of raw seawater, which is a far more efficient method of heat exchange. This requires a thru-hull, pump, and plumbing that household units lack.
  • Condensate Management: Boats move, heel, and rock. Marine AC units are designed with deep, robust condensate pans and drains to manage the water they pull from the air, preventing spills that can lead to bilge water, mold, and rot.
  • Durability: Everything on a boat gets shaken and slammed around. Marine systems are built to withstand the constant vibration and shock of life at sea.

Choosing Your Weapon: Types of Marine AC Systems

The right system for your vessel depends on its size, layout, and your budget. The three main types are self-contained, split-gas, and chilled water systems.

Self-Contained Units

This is the most common type for boats under 40-45 feet. The entire system—compressor, condenser, and evaporator—is housed in a single chassis. You install the unit in the living space (often under a settee or in a locker) and run ductwork to one or more vents.

  • Pros: Relatively simple to install, cost-effective, and compact. They are the go-to choice for most DIY installations.
  • Cons: The compressor is in your living space, so they can be noisier than other options. They are also less efficient for cooling multiple, separate cabins.

Split-Gas Systems

Similar to central air in a home, these systems separate the components. The noisy condenser/compressor unit is installed in a mechanical space like the engine room, while one or more quiet air handlers are placed in the cabins. Refrigerant lines connect the two parts.

  • Pros: Much quieter in-cabin operation and offer great flexibility for cooling multiple areas.
  • Cons: Installation is significantly more complex and expensive. It requires handling refrigerant, which legally requires an EPA-certified technician in many places. This is rarely a DIY job.

Chilled Water Systems

Found on larger yachts and commercial vessels, these are the pinnacle of marine climate control. A large chiller in the engine room cools a closed loop of fresh water (mixed with glycol), which is then pumped throughout the vessel to individual air handlers in each cabin. These systems can also provide reverse-cycle heating very efficiently.

  • Pros: Extremely efficient, quiet, and scalable for any size vessel.
  • Cons: By far the most complex and expensive to install and maintain. Strictly a job for specialized professionals.

The Installation Blueprint: Planning is Everything

A successful installation is 90% planning. Rushing this stage is a recipe for disaster. Here’s your pre-installation checklist.

1. Sizing the Unit: The BTU Game

Choosing the right capacity, measured in BTUs (British Thermal Units), is critical. Too small, and it will run constantly without cooling the boat. Too large, and it will short-cycle, failing to dehumidify the air properly and causing premature wear. A rough rule of thumb is 14-16 BTUs per cubic foot of cabin space. However, you must adjust for:

  • Windows and Hatches: Large, unshaded windows add a significant heat load.
  • Sun Exposure: A boat with a dark hull or deck will get much hotter.
  • Location: A boat in the tropics needs more cooling power than one in New England.
  • Insulation: Well-insulated hulls require less BTU capacity.

Consult the manufacturer’s guidelines carefully. When in doubt, it’s better to be slightly undersized than oversized.

2. Location, Location, Location

Where you place the components is just as important as the unit itself.

  • The Main Unit (Self-Contained): Find a spot that is low in the boat, central to the area you want to cool, and has space for ducting. Under a berth or settee is common. Crucially, ensure you have easy access for maintenance and a clear path for the condensate drain.
  • Return Air: The unit needs to draw in warm cabin air. This return vent should be as large as possible and unobstructed. Never install the unit in an engine room where it could pull in fumes.
  • Supply Vents: Position your cool air supply vents high in the cabin, as cool air sinks. Aim for a circular airflow pattern, with the supply and return vents at opposite ends of the space.

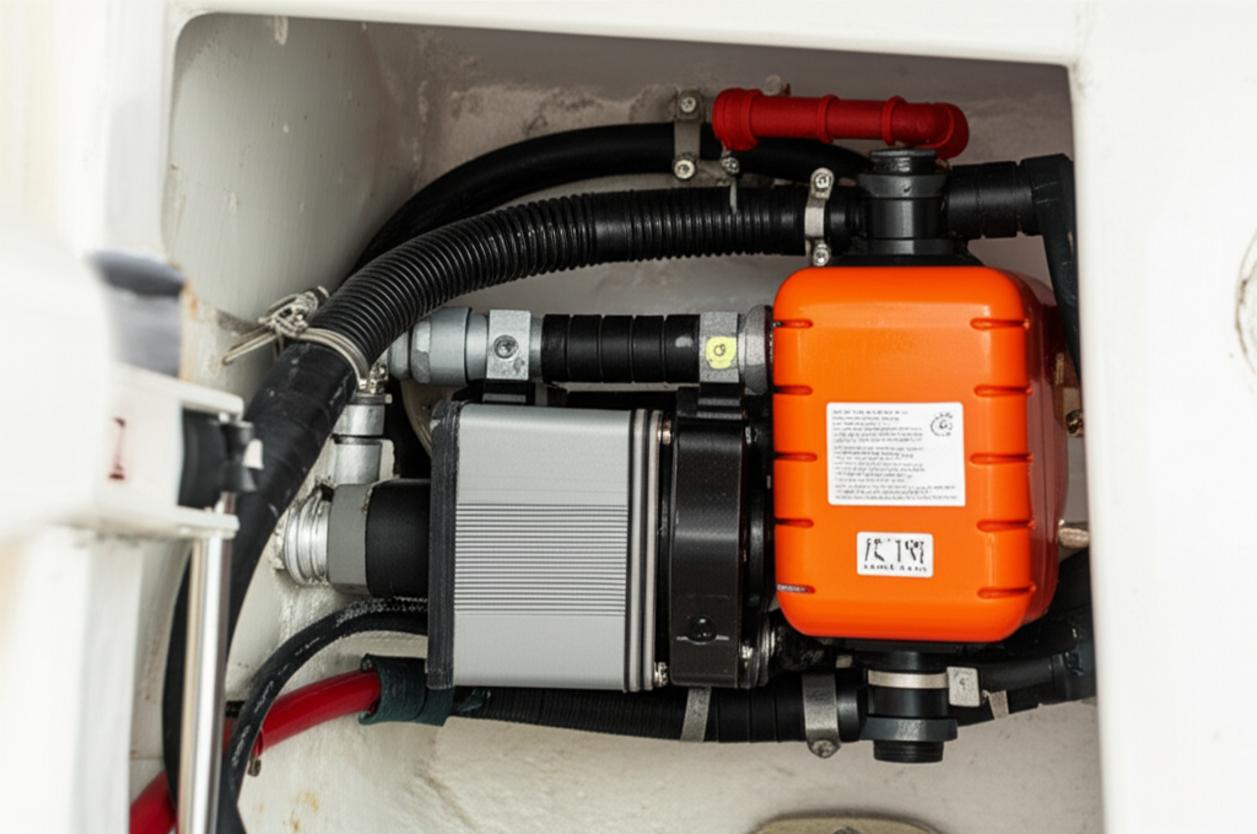
3. The Seawater Circuit: The Heart of the System

This is the most critical part of the installation. A failure here can sink your boat.

  • Thru-Hull & Seacock: The water intake must be a dedicated thru-hull fitting with a proper marine seacock. It should be located where it will remain submerged even when the boat is heeling or planning.
  • Sea Strainer: A sea strainer is non-negotiable. It must be installed between the seacock and the pump to protect the pump and condenser coils from debris. Mount it above the waterline for easy cleaning.
  • Pump: The circulation pump must be mounted below the waterline to ensure it stays primed.
  • Hoses & Clamps: Use high-quality reinforced marine hose and double-clamp all connections below the waterline with marine-grade stainless steel clamps. Create a vented loop in the discharge line if the outlet is near the waterline to prevent siphoning.

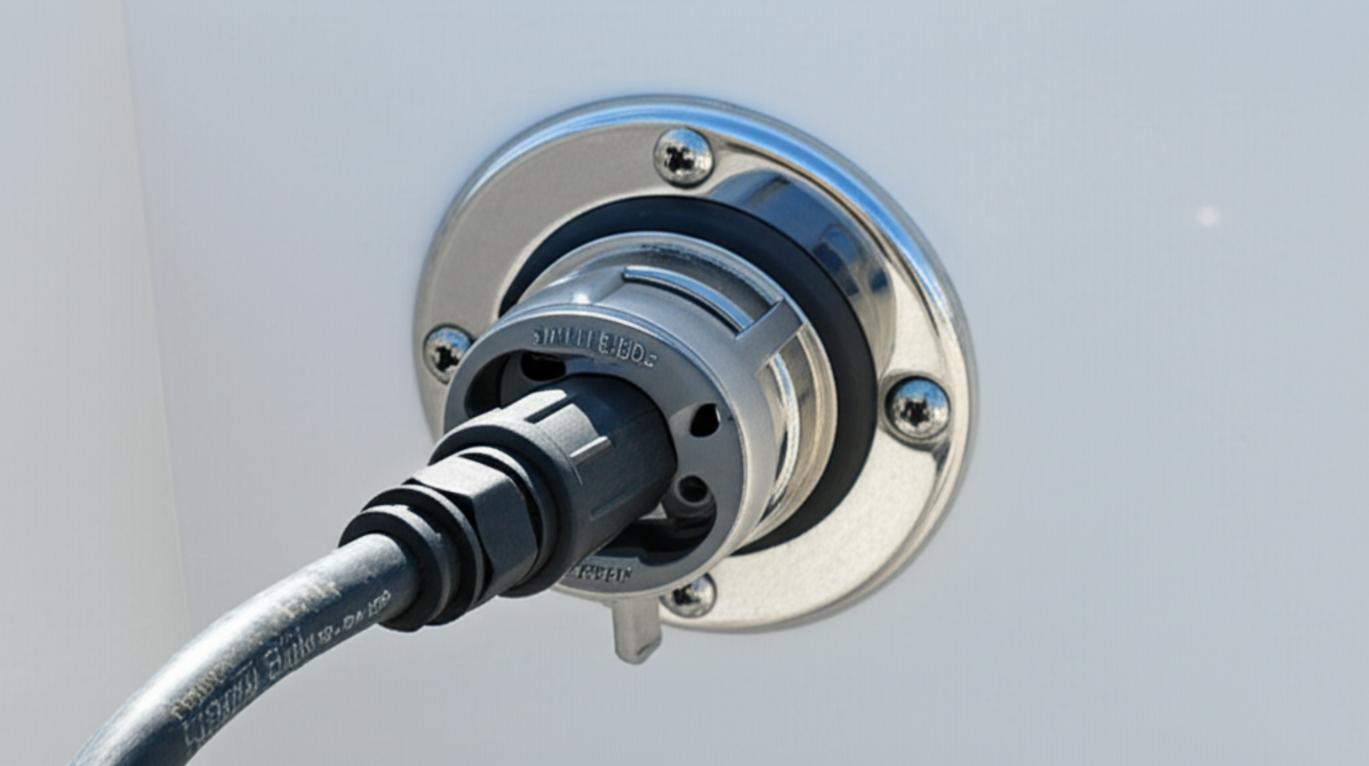
4. Electrical Power: Don’t Skimp on Amps

Marine air conditioners are power-hungry, especially on startup. You need a robust AC electrical system.

  • Power Source: You’ll need sufficient shore power (typically a 30A service) or a properly sized generator to run the AC away from the dock.
  • Wiring: The unit must be on its own dedicated circuit with the correct size breaker. Use marine-grade tinned wire and follow all ABYC standards for wiring practices.

The Big Question: DIY or Hire a Pro?

Installing a self-contained marine AC system can be a rewarding project for a skilled and confident boat owner. If you are comfortable with fiberglass work (for the thru-hull), 120V AC electrical systems, and plumbing, you can likely tackle the job.

However, you should hire a certified marine technician if:

  • You have any doubts about cutting a hole in your hull.
  • You are not 100% confident in your AC electrical skills.
  • You’re installing a split-gas or chilled water system.
  • You want the peace of mind and warranty that comes with a professional installation.

Conclusion: A Worthwhile Investment in Comfort

Installing a marine air conditioning system is a significant upgrade that will fundamentally change how you use and enjoy your boat. It extends your boating season, preserves your interior, and provides an incredible quality-of-life improvement. While the installation process is involved and requires meticulous attention to detail, the reward is a cool, dry, and comfortable sanctuary on the water. Plan carefully, respect the systems you’re working with, and don’t hesitate to call in a professional if you’re out of your depth. Your future, well-rested self will thank you for it.

How to Change Belts in a Marine Alternator

The Unsung Hero in Your Engine Room: The Alternator Belt

There’s a sound every seasoned mariner knows and dreads: a high-pitched, persistent squeal from the engine room, especially when the throttle is pushed forward. It’s the desperate cry of a slipping alternator belt. This humble loop of reinforced rubber is one of the most critical, yet often overlooked, components of your vessel’s powerplant. It’s the mechanical link that turns your engine’s raw power into the electrical lifeblood that charges your batteries, runs your navigation gear, and keeps your lights on. When it fails, you’re not just inconvenienced; you’re dead in the water, electrically speaking. Understanding how to inspect, replace, and properly tension this belt—a process known in Spanish-speaking ports as ‘cambio de correas’—is a fundamental skill for any self-reliant boat owner.

A marine diesel engine with a focus on the alternator and its belts, illustrating a key maintenance task for boat owners.

Why This ‘Simple’ Belt Demands Your Respect

On land, a failed alternator belt might mean a call to a tow truck. At sea, the stakes are exponentially higher. This belt harnesses the rotation of the engine’s crankshaft and spins the alternator’s pulley. The alternator, in turn, generates the DC current needed to replenish your battery banks. Without it, you’re running solely on battery power, a finite resource that will dwindle with every running light, chartplotter, or VHF transmission. On many marine engines, this same belt also drives the raw water pump, which is essential for engine cooling. In that scenario, a snapped belt means no charging and a rapidly overheating engine—a true emergency. The harsh marine environment of salt, humidity, heat, and constant vibration is hell on rubber components, making regular inspection not just good practice, but a critical safety procedure.

Reading the Signs: When to Perform a ‘Cambio de Correas’

Your belt will almost always give you warning signs before it fails catastrophically. You just need to know what to look and listen for.

Visual Inspection: Your First Line of Defense

With the engine off and cool, run your fingers (and a good flashlight) over the belt. You’re looking for:

  • Cracks: Any visible fissures or cracks, especially on the ribbed or V-groove side, are a clear sign the rubber is drying out and ready to fail.
  • Glazing: A shiny, polished surface on the sides of the belt indicates it has been slipping. This hardens the rubber, reduces grip, and is a precursor to squealing and failure.
  • Fraying or Delamination: If the edges are frayed or the layers of the belt are starting to separate, its structural integrity is compromised. Replace it immediately.
  • Belt Dust: An excessive amount of black, rubbery dust around the alternator and pulleys is a tell-tale sign of rapid wear, often due to misalignment or improper tension.

Audible and Performance Warnings

Sometimes you’ll hear the problem before you see it:

  • Squealing: The classic symptom. It’s most common on startup or when a heavy electrical load (like a windlass) is applied, causing the alternator to work harder and the belt to slip.
  • Inconsistent Voltage: If you notice your onboard voltmeter flickering or reading lower than usual (typically should be 13.8V-14.4V when charging), a slipping belt could be the culprit.

Gearing Up: Tools and Parts for the Job

Performing a belt change underway is much easier if you have the right gear ready. Don’t wait until you’re in a rolling sea to discover you’re missing a 14mm socket.

Your Essential Toolkit

  • Socket Set and Wrenches: A good metric and/or SAE set is essential. You’ll typically need a few specific sizes for the alternator’s pivot and tensioning bolts.
  • Pry Bar or Large Screwdriver: For safely applying leverage to tension the new belt.
  • Flashlight or Headlamp: Engine rooms are notoriously dark.
  • Rags: For cleaning pulleys and hands.
  • Belt Tension Gauge (Optional): For those who prefer precision, this tool takes the guesswork out of tensioning.

Choosing the Right Belt (and a Spare!)

Belts are not one-size-fits-all. You need the exact part number for your engine. This can usually be found on the old belt itself, in your engine’s service manual, or by contacting the manufacturer. The golden rule of cruising: carry at least two spares. Store them in a sealed plastic bag in a cool, dark, and dry place to protect them from UV and ozone degradation.

The Step-by-Step Guide to Changing Your Alternator Belt

With your tools and new belt in hand, you’re ready to get to work. It’s a straightforward process that builds confidence with every turn of the wrench.

  1. Safety First: Ensure the engine is completely off and cool to the touch. Disconnect the negative terminal from your start battery to prevent any chance of an accidental start.
  2. Document the Path: Before you touch anything, take a clear photo of the belt’s routing. This is especially crucial for complex serpentine belts that weave around multiple pulleys.
  3. Loosen for Slack: Identify the alternator’s bolts. There will be a main pivot bolt and an adjusting bolt, often on a slotted bracket. Loosen the adjusting bolt first, then slightly loosen the pivot bolt. You don’t need to remove them completely.
  4. Relieve Tension & Remove: With the bolts loose, push the alternator towards the engine block. This will create slack in the belt, allowing you to easily slip it off the pulleys.
  5. Inspect and Clean Pulleys: This is a critical, often-skipped step. With the belt off, spin each pulley by hand. They should spin smoothly and silently. Check the V-grooves for rust, debris, or embedded rubber. Clean them thoroughly with a wire brush and a rag. A dirty or damaged pulley will shred a new belt in short order.
  6. Install the New Belt: Referring to your photo, carefully route the new belt around the pulleys. Make sure the ribs are properly seated in the grooves.
  7. Tensioning – The Critical Art: This is the most important step. Too loose, and the belt will slip and fail to charge. Too tight, and you’ll put immense strain on the bearings of your alternator and raw water pump, leading to expensive failures.
    • The Rule of Thumb: Find the longest span of the belt between two pulleys. With firm thumb pressure, you should be able to deflect the belt about 1/2 inch (1.3 cm).
    • Applying Tension: Use your pry bar to gently lever the alternator away from the engine. Find a solid casting point on the alternator body to pry against—never pry on the plastic fan, cooling fins, or the rear casing. While holding tension, tighten the adjusting bolt first to lock it in place, then fully tighten the pivot bolt.
  8. Final Checks: Double-check the tension. Reconnect the battery. Start the engine and let it run for a minute. Listen for any squeals and observe the belt to ensure it’s tracking correctly. Check your voltmeter to confirm a healthy charging voltage. Shut down, let everything cool, and re-check the tension one last time. New belts have an initial stretch, so a slight re-tension is often necessary.

A Seaman’s Final Word

Mastering the ‘cambio de correas’ is more than just a maintenance task; it’s an act of self-sufficiency. It transforms a potential trip-ending disaster into a manageable, 30-minute inconvenience. By regularly inspecting your belts, carrying the correct spares, and knowing the replacement procedure by heart, you are taking direct command of your vessel’s reliability and your own safety at sea. It’s one of the most valuable skills you can have in your mariner’s toolkit, providing peace of mind that is worth far more than the cost of a few spare belts.

Silence the Sputter: A Complete Guide to Replacing Your Boat’s Freshwater Pump

There are few sounds on a boat as simultaneously mundane and crucial as the hum of the freshwater pump. It’s the sound of a morning coffee brewing, a refreshing rinse after a swim, and a clean galley after a hearty meal. But when that familiar hum turns into a constant drone, a frantic pulsing, or worst of all, a dead silence, your tranquil life at sea can quickly become a frustrating ordeal.

Your boat’s pressurized water system is its circulatory system, and the pump is its heart. While they are designed to be robust, they don’t last forever. The good news is that replacing a freshwater pump is one of the most manageable and rewarding DIY projects a boat owner can tackle. It requires a few basic tools, a bit of patience, and will leave you with a deeper understanding of a critical onboard system. Let’s dive in.

Is It Really the Pump? Diagnosing the Problem

Before you rush to buy a new pump, let’s play detective. Many pump-like symptoms are actually caused by other issues in the system. A proper diagnosis will save you time and money.

* The pump runs continuously and never shuts off: This is the classic sign of a leak. The pump is trying to build pressure, but water is escaping somewhere, so it never reaches the cut-off pressure. Before blaming the pump, check every single connection in your freshwater system: faucets, showerheads, hot water heater connections, and the hose fittings themselves. Even a tiny, slow drip is enough to keep the pump running.
* The pump cycles on and off quickly (machine-gunning): If you hear a rapid brrr-brrr-brrr sound when you crack open a faucet just a little, this often points to a failed or waterlogged accumulator tank. The accumulator tank acts as a pressure buffer, smoothing out the water flow. If its internal bladder has failed, the pump will short-cycle. It can also be a sign of a clogged inline filter, which restricts flow and confuses the pressure switch.
* The pump is completely dead: The simplest explanation is often the correct one. First, check the dedicated circuit breaker or fuse for the pump. If it’s tripped, reset it once. If it trips again immediately, you have an electrical short. If the breaker is fine, use a multimeter to check if you have 12V (or 24V) power at the pump’s terminals. If you have power but the pump does nothing, the motor is likely seized or burned out. It’s time for a replacement.
* Low water pressure throughout the boat: The number one suspect here is a clogged filter or strainer. Most pumps have a small, screw-on strainer on the inlet side to protect the diaphragm from debris. These can get clogged with sediment from your water tank. Cleaning this filter should be your first step.

Choosing Your New Pump: More Than Just Flow Rate

If you’ve confirmed the old pump is the culprit, it’s time to choose a successor. You could get an identical replacement, but this is also an opportunity to upgrade.

* Flow Rate (Gallons Per Minute – GPM): This determines how much water comes out of your tap. A 3-4 GPM pump is usually sufficient for a mid-sized boat with a couple of faucets and a shower. A direct replacement is safe, but a small upgrade in GPM can be a nice improvement. Don’t go overboard, as your boat’s plumbing and wiring might not be sized for a massive pump.
* Pressure (PSI): Most marine systems operate between 30-50 PSI. The key is the pump’s pressure switch, which has a cut-in (when it turns on) and cut-out (when it shuts off) pressure. Match this to your system’s specifications. A pump with too high a PSI could damage your plumbing or hot water heater.
* Voltage: This is non-negotiable. If you have a 12V system, you need a 12V pump. If you have a 24V system, you need a 24V pump.
* Variable Speed vs. Standard: This is the biggest upgrade you can make. A standard pump is either on (full blast) or off. It relies on an accumulator tank to smooth out the flow. A modern variable-speed pump intelligently adjusts its motor speed based on demand. When you open a faucet slightly, it runs slowly; open it fully, and it speeds up. The result is a quiet, smooth, household-like water flow, and it often eliminates the need for an accumulator tank, saving space and a potential failure point.

The Toolkit: Assembling Your Arsenal

You don’t need a professional workshop for this job. Gather these items before you start:

* The new water pump
* Screwdrivers (Phillips and flathead)
* Pliers or a wrench for hose clamps
* Wire strippers and crimpers
* Marine-grade, heat-shrink butt connectors
* Pipe sealant or Teflon tape for threaded fittings
* A handful of rags and a small bucket for catching water
* A camera (your phone) for taking ‘before’ pictures

Step-by-Step: The Replacement Process

With your tools and new pump at the ready, it’s time for the transplant.

1. Safety First: Go to your electrical panel and switch off the circuit breaker for the freshwater pump. You don’t want it to kick on unexpectedly while you’re working.
2. Depressurize the System: Open any faucet on the boat to bleed off all the pressure in the lines. Leave it open.
3. Locate and Photograph: Find your old pump. It’s often tucked away in an engine room, a lazarette, or under a settee. Before you disconnect a single thing, take a few clear photos from different angles. This will be your map for connecting the new one, especially for wire polarity and hose direction (inlet vs. outlet).
4. Disconnect the Plumbing: Place a rag or shallow bucket under the pump. Loosen the hose clamps on the inlet and outlet hoses and wiggle them off the pump fittings. Be prepared for a bit of residual water to spill out.
5. Disconnect the Wiring: Disconnect the positive (usually red) and negative (usually black) wires. If they aren’t color-coded, refer to your photo or label them with tape.
6. Unmount the Old Pump: The pump will be secured to a surface with screws through its rubber mounting feet. Unscrew these and remove the old pump from its lair.
7. Prepare the New Pump: Compare the new pump to the old one. You may need to transfer the threaded hose barb fittings. If so, clean the threads and apply fresh Teflon tape or pipe sealant before screwing them into the new pump. Make sure the inline strainer is attached to the inlet side—this is critical for the pump’s longevity.
8. Mount the New Pump: Position the new pump and screw it down. Ensure it’s secure, as the rubber feet are essential for isolating vibration and noise.
9. Reconnect the Wiring: Using your marine-grade butt connectors, crimp the boat’s positive wire to the pump’s positive wire, and negative to negative. Use a heat gun or a lighter carefully to shrink the tubing for a waterproof seal.
10. Reconnect the Plumbing: Push the inlet and outlet hoses firmly onto the new fittings and tighten the hose clamps. Ensure they are snug but don’t overtighten and crack the plastic fittings. Make sure the hoses aren’t kinked.

The Moment of Truth: Powering Up and Priming

Double-check that every connection is tight. Close the faucet you left open. Now, head back to the electrical panel and flip the breaker on. The pump should immediately start running as it works to build pressure in the empty lines.

Now, you need to purge the air. Go to the faucet furthest from the pump and open the cold tap. It will sputter and spit air for a moment before a smooth, steady stream emerges. Once the cold is clear, do the hot side. Repeat this process for every faucet, shower, and washdown on the boat.

Once all the air is out, close the last faucet. The pump should continue to run for a few seconds and then shut off with a satisfying click. Silence. Wait and listen. If the pump stays off, congratulations! If it cycles on for a second every 30 seconds or few minutes, you have a very small leak somewhere. Your new connections are the most likely suspects, so check them first.

Conclusion

Replacing your freshwater pump is more than just a repair; it’s an investment in your comfort and self-sufficiency on the water. By taking the time to diagnose the problem correctly, select the right replacement, and install it with care, you’ve not only solved an issue but also gained invaluable knowledge about your vessel. Now, go ahead and turn on that tap. The sound of that strong, steady stream of water, powered by the heart you just installed yourself, is one of the sweetest sounds a sailor can hear.