There’s a special kind of pride that comes with watching the morning sun glide across a perfectly polished, gleaming hull. It’s a reflection not just of the sky, but of the care and effort you pour into your vessel. That deep, liquid shine isn’t just for looks, though. It’s the visual proof of a well-protected boat. The secret to achieving and maintaining that look lies in one of the most fundamental tasks of boat ownership: waxing. But this isn’t about a quick wipe-on, wipe-off job. This is about understanding the science behind the shine and giving your gelcoat the armor it needs to battle the harsh marine environment.
What Exactly is Gelcoat, and Why Does it Need a Shield?
Think of gelcoat as your boat’s skin. It’s the pigmented resin layer applied to the mold during hull construction that provides the color and smooth, glossy finish. While it looks solid and impermeable, gelcoat is actually porous on a microscopic level. This porosity is its Achilles’ heel. Over time, exposure to the elements wages a relentless war on this surface.
The primary enemy is ultraviolet (UV) radiation from the sun. Just like our own skin, gelcoat can get ‘sunburned.’ UV rays break down the resin, causing the pigments to fade and the surface to degrade. This process is called oxidation. The first sign is a loss of gloss, followed by a chalky, dull appearance. Salt, water spots, bird droppings, and environmental pollutants also seep into these pores, further accelerating the deterioration.
Protective wax acts as a sacrificial barrier. It fills in the microscopic pores of the gelcoat, creating a smooth, hydrophobic (water-repelling) layer. This shield does two critical things: it blocks UV rays from reaching the gelcoat, and it prevents salt and grime from embedding into the surface, making cleanup significantly easier.
The Arsenal: Choosing the Right Wax for the Job
Walking into a marine supply store can be overwhelming. The shelves are lined with countless bottles, tubs, and sprays, all promising the best shine and protection. Understanding the main categories will help you cut through the marketing noise and choose the right product for your needs.
* Natural Carnauba Waxes: Often called the ‘king of waxes,’ carnauba is derived from a Brazilian palm tree. It’s prized for producing an incredibly deep, rich, ‘wet look’ shine that is hard to replicate. The downside? It has a lower melting point and doesn’t last as long as synthetics, typically requiring reapplication every 2-4 months, depending on your climate and usage. It’s a great choice for boat show enthusiasts or those who enjoy the process of waxing frequently.
* Synthetic Polymer Sealants: These are the workhorses of the marine world. Instead of a natural wax, they are made from man-made polymers that cross-link to form a hard, durable shell over your gelcoat. They may not have the same visual depth as carnauba, but their protection is far superior and longer-lasting, often holding up for 6 months or even a full season. They offer excellent UV protection and are more resistant to detergents and environmental fallout.
* Hybrid Ceramic Waxes: The newest technology on the block, ceramic (often SiO2 or silicon dioxide) coatings create a semi-permanent, glass-like layer on your gelcoat that is exceptionally hard and slick. This offers the ultimate in durability and protection, sometimes lasting for over a year. The surface becomes so hydrophobic that water and dirt slide right off. However, the application process is more demanding and less forgiving than traditional waxes. The prep work must be flawless, as you are essentially locking in the condition of the surface underneath.
* Cleaner Waxes: These are ‘all-in-one’ products that contain a mild abrasive or chemical cleaner mixed with a protective wax (usually a synthetic blend). They are designed for boats with light to moderate oxidation. They save a step by cleaning, polishing, and protecting in a single application. While convenient, they don’t offer the same level of protection or longevity as a dedicated multi-step process.
The Art of Application: A Step-by-Step Guide to a Flawless Finish
Having the best wax in the world won’t matter if the application is poor. The secret to a lasting, professional-looking finish is 90% preparation and 10% application.
Step 1: The Critical Cleanse
You cannot wax a dirty boat. Start by washing the hull thoroughly with a quality marine boat soap to remove loose dirt, salt, and grime. If you have any stubborn stains like rust marks or a ‘boat mustache’ at the waterline, use a dedicated hull cleaner or stain remover to address them now.
Step 2: Decontamination and Oxidation Removal (If Needed)
Run your hand over the clean, dry gelcoat. Does it feel gritty or rough? That’s embedded contamination. Does it look dull or chalky? That’s oxidation. If the answer is yes to either, you must address this before waxing. Applying wax over oxidation is like painting over rust; you’re just sealing the problem in. For this, you’ll need a polishing or rubbing compound. A dual-action (DA) orbital polisher is your best friend here, as it makes quick work of restoring the gloss without the risk of burning the gelcoat that comes with a high-speed rotary buffer. Work in small, 2×2 foot sections until the gloss returns.
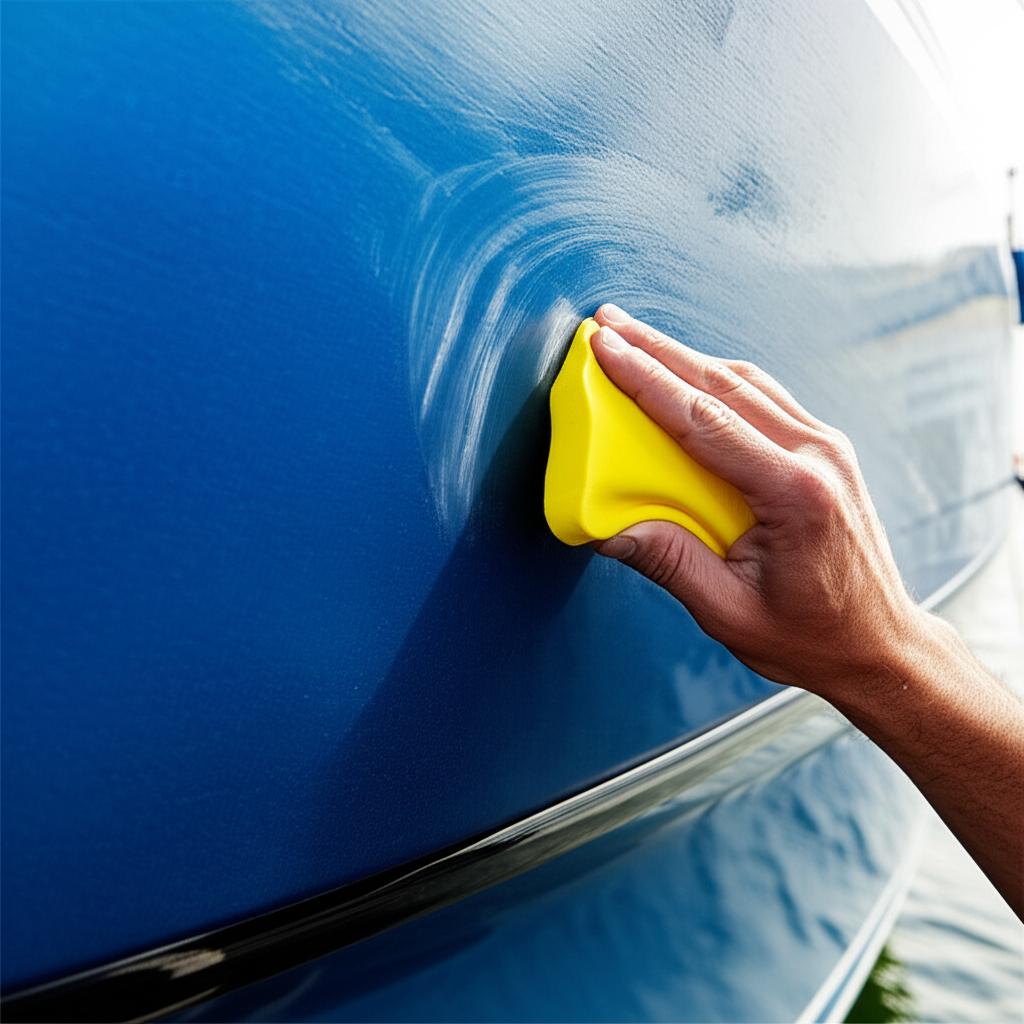
Step 3: The Application
Whether by hand or machine, the golden rule is thin is in. A thick, globby coat of wax doesn’t offer more protection; it just makes it incredibly difficult to remove.
* Work in the shade: Never apply wax to a hot surface or in direct sunlight. The wax will dry too quickly, making it nearly impossible to buff off properly.
* Work in small sections: Apply the wax to a manageable area, about the size of your wingspan. This ensures you can remove it before it fully cures.
* Use the right applicator: A foam or microfiber applicator pad is ideal for hand application. If using a polisher, use a soft foam finishing pad on a low-speed setting.
Step 4: The Swipe Test and Removal
After applying the wax, let it haze over. How long this takes depends on the product, temperature, and humidity (always read the directions on the bottle). A classic way to check if it’s ready is the ‘swipe test.’ Lightly swipe your finger across the waxed area. If it leaves a clean, clear swipe, it’s ready to be buffed off. If it smears, it needs more time.
Use a high-quality, plush microfiber towel for removal. Fold it into quarters. Use one side for the initial wipe-off and flip to a clean side for the final, glossy buff. This prevents you from simply re-spreading the hazy wax residue.
Conclusion: More Than Just a Shine
Waxing your boat is more than a chore; it’s a fundamental part of responsible ownership. It’s an investment of your time that pays huge dividends. A regularly waxed hull is easier to clean, resists staining, and holds its color and gloss for years longer. It not only preserves the beauty and pride you have in your vessel but also significantly protects its financial value. So, the next time you set aside a weekend to spend with a buffer and a bottle of wax, remember you’re not just polishing a boat—you’re applying a guardian angel to its gelcoat, ensuring it’s protected for many more seasons of adventure on the water.