More Than a Shine: A Sailor’s Guide to Inspecting Stainless Steel Hardware
There’s nothing quite like the brilliant glint of polished stainless steel against a deep blue sea. It speaks of strength, reliability, and modern seamanship. From the stanchions guarding our decks to the chainplates holding our masts aloft, we place immense trust in these metallic components. But here’s a hard-won piece of sea wisdom: that beautiful shine can be deceiving. Stainless steel, despite its name, is not invincible. In the harsh marine environment, it can and does corrode, crack, and fail—often silently, until it’s too late. A routine inspection of your boat’s hardware is not just a ‘nice-to-do’ task for a quiet Sunday; it’s a fundamental pillar of safe boating.
Understanding Marine-Grade Stainless Steel
Before we can properly inspect it, we need to understand what we’re looking at. The term “stainless steel” covers a wide family of alloys, but for marine use, two grades are paramount.
Not All Stainless Is Created Equal: 304 vs. 316
You’ll often encounter Type 304 stainless in general applications. It’s tough and corrosion-resistant in many environments, but it has an Achilles’ heel: chlorides. Saltwater is a chloride-rich soup, and 304 will eventually succumb to pitting and crevice corrosion. For any application on a boat that sees salt spray, and especially for critical components, you need Type 316. The key difference is the addition of a little element called molybdenum. This addition dramatically increases its resistance to chlorides, making 316 the undisputed king for marine hardware. If you’re replacing a fitting, always insist on 316 or its low-carbon variant, 316L.
The Myth of “Stainless”
The magic of stainless steel lies in a microscopic, invisible layer of chromium oxide that forms on its surface when exposed to oxygen. This “passive layer” is what protects the iron in the steel from rusting. The problem is, this protective layer can be damaged. Mechanical scratches, contamination with carbon steel (like from using a steel wire brush), or, most commonly, a lack of oxygen in tight crevices, can break down this barrier and allow corrosion to begin its insidious work.
The Telltale Signs of Trouble: What to Look For
Developing a keen eye for the subtle signs of stainless steel degradation is one of the most valuable skills a skipper can possess. Grab a good flashlight, a magnifying glass, and let’s go on a hunt.
Surface Stains: The Early Warning
Often called “tea staining,” this is a light, reddish-brown surface discoloration. While often cosmetic, you should never ignore it. It can be an early indicator of a poor-quality alloy (perhaps 304 masquerading as 316), contamination, or the beginning of more serious issues. It’s most common in areas that don’t get a regular freshwater rinse. A good polish with a specialized cleaner can often remove it, but note the location and keep a close eye on it.
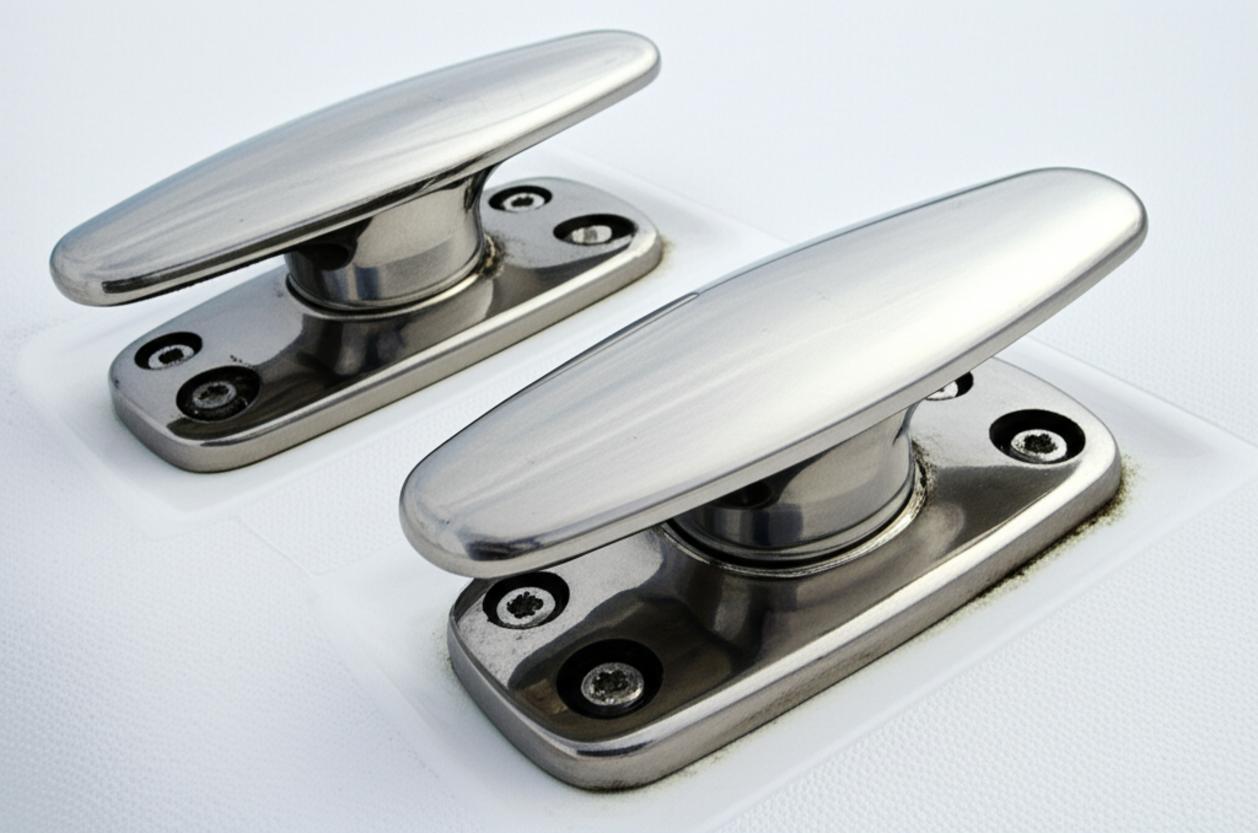
Crevice Corrosion: The Hidden Danger
This is one of the most common and dangerous forms of failure. It occurs in oxygen-starved environments, such as under the head of a bolt, beneath a washer, between the threads of a turnbuckle, or where a chainplate passes through the deck. Water gets trapped, the oxygen is consumed, and the passive layer breaks down, creating an acidic environment that aggressively attacks the steel. The telltale sign is a weeping rust stain emanating from the joint. If you see this, that fitting needs to be disassembled, inspected, and likely replaced immediately.
Pitting: Small Holes, Big Problems
Pitting is localized corrosion that creates small, deep cavities in the steel. A few tiny pits on a cleat might not be a major concern, but on a high-load component like a rigging terminal or a prop shaft, they can act as stress risers, becoming the starting point for a stress crack. Pitting indicates that the passive layer has been compromised in specific spots, often due to microscopic imperfections in the metal or prolonged exposure to stagnant saltwater.
Stress Corrosion Cracking (SCC) and Fatigue: The Silent Catastrophe
This is the one that keeps riggers up at night. SCC is the formation of microscopic cracks in metal that is under tensile stress in a corrosive environment—a perfect description of a boat’s rigging. These cracks can propagate with no obvious outward sign of corrosion, leading to sudden, catastrophic failure. You need a magnifying glass to even have a chance of spotting them. Look for them in high-stress areas: the bends of chainplates, around swage fittings, and on toggle pins. If you suspect SCC on a critical component, the only safe course of action is replacement or professional non-destructive testing, such as dye penetrant inspection.
A Practical Inspection Checklist
Make this a part of your regular maintenance schedule—at least twice a season, and before any major passage.
Deck Hardware & Rigging
- Stanchions and Lifelines: Vigorously wiggle each stanchion. Check the bases for fine, hair-like cracks radiating from the mounting bolts. Inspect lifeline terminals (swaged or mechanical) for any signs of cracking or corrosion.
- Chainplates: This is ground zero for potential failure. On deck, check the sealant for any breaks. Look for fine cracks where the plate bends. Below deck, use a mirror and flashlight to inspect the entire length. Any weeping rust stains are a major red flag that crevice corrosion is at work where you can’t see it.
- Turnbuckles: At least annually, slacken your rigging and unwind every turnbuckle. Clean the threads thoroughly and inspect them for corrosion and galling (where the threads bind and tear). Lubricate with a suitable anti-seize compound before re-tuning.
- Shackles, Blocks, and Toggles: Check shackles for any signs of elongation or deformation—a sign they have been overloaded. Ensure clevis pins are straight and cotter pins are sound. The sheaves in blocks should turn freely.
Hull and Systems
- Thru-Hulls and Seacocks: While less common in stainless, inspect any such fittings for pitting and crevice corrosion, especially around the flange.
- Prop Shaft and Rudder Stock: During haul-out, carefully inspect shafts for any pitting or signs of galvanic corrosion, especially near the prop or any bearings.
Prevention: The Best Maintenance Strategy
An ounce of prevention is worth a ton of cure, especially at sea.
- Freshwater Rinse: The simplest and most effective preventative measure. A thorough freshwater washdown after every sail removes the corrosive salt deposits.
- Clean and Passivate: Regularly clean your stainless with a proper marine-grade cleaner (never use steel wool or carbon steel brushes!). To restore the protective layer, you can use a mild acid like oxalic acid, which will remove surface impurities and allow the chromium oxide layer to reform perfectly.
- Proper Bedding: Ensure all deck hardware is bedded with a high-quality marine sealant. This prevents water intrusion, which is the root cause of crevice corrosion. Dig out and replace any old, cracked sealant.
Conclusion: Trust, but Verify
Your boat’s stainless steel hardware is the silent workhorse that keeps your rig standing and your crew safe. It withstands incredible forces in a relentlessly corrosive environment. But it requires your attention and your diligence. Don’t be lulled into a false sense of security by a pretty shine. Get out there, look closely, and learn the language of your hardware. A few hours of careful inspection can be the difference between a safe passage and a catastrophic failure. Trust your hardware, but always, always verify.